Finding the Perfect Height: A Guide to Set Fence Posts
A quick look at how to set fence post
A successful fence is only achieved when two things come together: careful and thorough planning, and great materials.

Fence posts play a critical role in your fence installation – they support and distribute weight, as well as keeping the fence wires vertical.
Understanding the importance of fence posts is fundamental to their correct management:
Durability and longevity are two sought-after qualities on virtually every project. Consequentially, a post needs enough depth to offer these virtues – but how do you go about determining the hole depth? Let’s take a look.
How deep should a fence post be?
Factors like weather & soil will play a crucial role on the depth needed to erect a stable fence. Generally, about one third of (or even half of, for more stability) the post should be underground.
In the end, your needs, expectations, size of the posts, and even preferences will determine how deep the post will be.
As an example, if your fence is 6’ in height, your fence post needs to be around 8 to 9’, since at least 2’ will be in the ground.
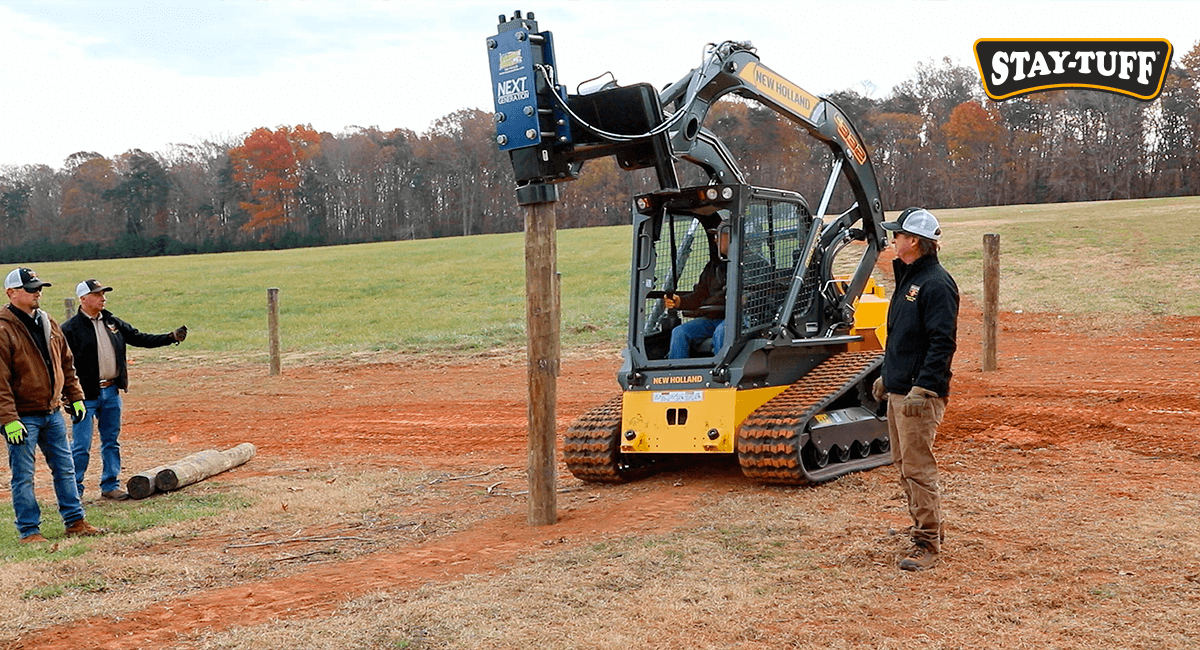
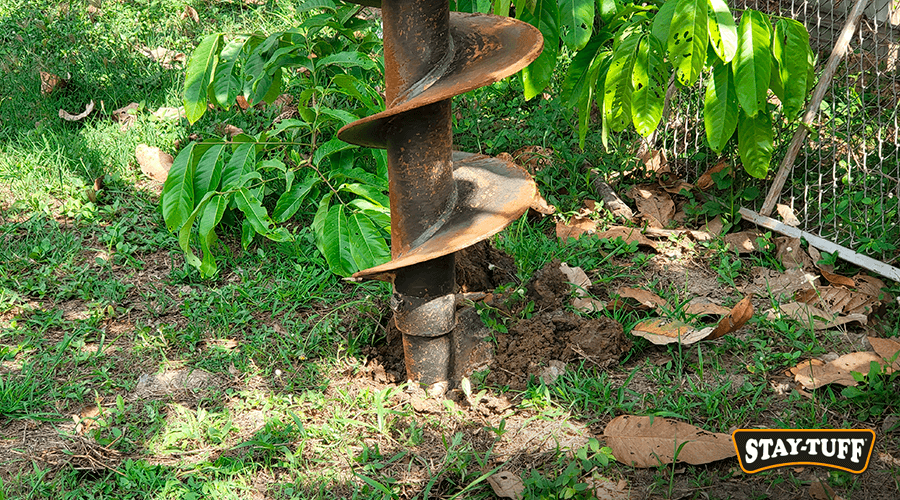
Use the right tools!
Using tools is a great way of working smarter and not harder – power augers, post drivers or post hole diggers are just some examples of them. Their use makes putting posts in the ground easier, and yields consistent results every single time.
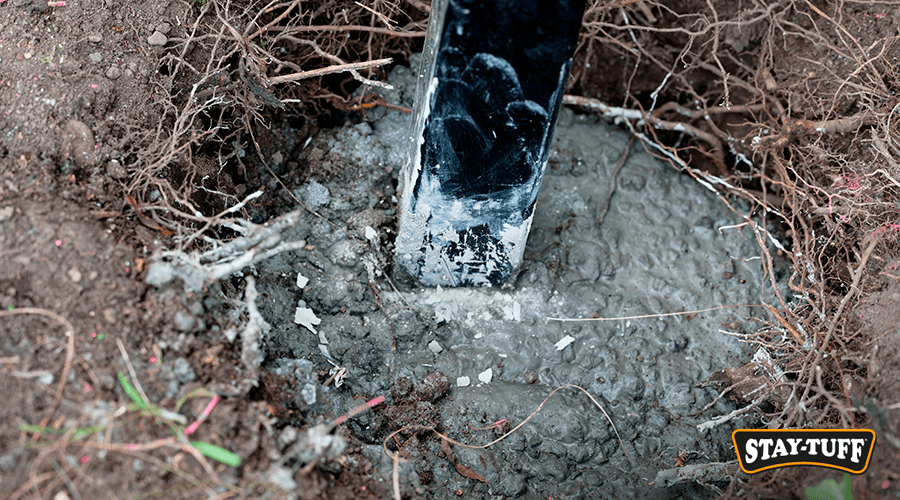
Install it correctly
It is suggested you fill the bottom of the hole with crushed stone or gravel, in order to prevent water accumulation (which could ultimately damage the post itself) and to encourage drainage.
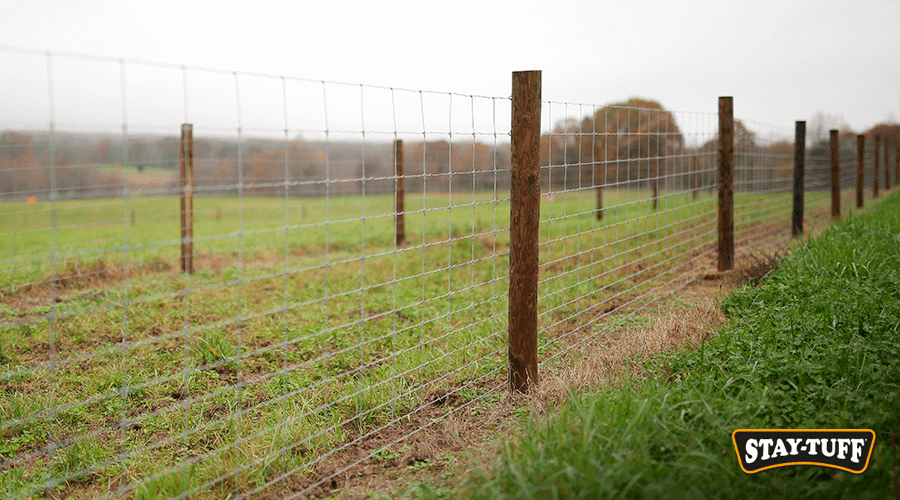
The STAY-TUFF advantage
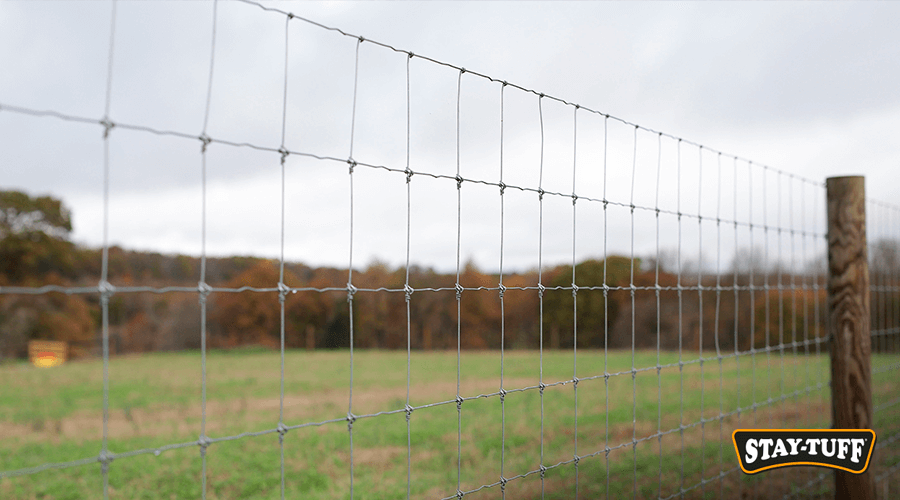
A frequently asked question is how far apart should posts be. A conventional fence will require you to set them about 6 or 8’ apart.
With STAY-TUFF however, you’ll be able to set your posts up to 12’ apart thanks to the high resistance of our fences and wires. This means less digging and more savings!
Get in touch with us!
Are you a contractor or a dealer? Then we want to hear from you!
If you’re interested in our products, make sure you get in touch via email or using our Dealer Locator.